Showing posts with label 40k. Show all posts

Tuesday, March 19, 2013

Wargaming's Future (3/19/2013)


I haven’t spent a huge amount of time on my blog over the past several months.  Mostly my time has been dedicated to completing some commissions.  But I’ve been slipping into designing some cool bits now and then when the inspiration strikes.  On the one hand I’m proud of the commission work I’m doing but I feel I’m doing a bit of disservice to my readers and all those who order my items.  I know I’ve got a small stack of requests in my in box and a couple of errors on printed items that I need to get to.  I promise you that I’ll get around to them ASAP now that my free time is becoming mine again.

I semi-officially finished my largest commission last Tuesday.  I only await the final approval on the models to know that I’m definitively done.  I’d love to share with you the fruits of those projects but due to confidentiality agreements I can’t. Suffice it to say it was a huge challenge and I’m quite proud to have done it.  Now that I can get back to my own projects I’ve jumped on my star marines again.
When I started making my female space marines I jokingly referred to them as “Star Marines”.  This was as much a tongue in cheek reference to GW’s product as it was an example of my insecurity over the idea of barrowing on the Games Workshop mythos.  I am a huge fan of Warhammer 40k and the models of Games Workshop but the older their world gets the less I feel at home in it.

I could chalk this up to my age but I don’t really believe that’s the case. I still watch power rangers and read comic books so age isn’t the issue. The issue is Games Workshop is reinventing itself.  It’s been doing it for years and on the one hand being the Madonna of its industry is what makes it great.    On the other hand reinvention always leaves someone out in the cold. And that someone in this case is me.

I’m willing to bet that it’s a lot of other people too.  I’m not afraid of change but change, reinvention, can’t be for its own sake.  To often we take for granted that change will be good or bad and generally fail to acknowledge that the scary part of change isn’t its good or bad points but the lack of control we have over it. Games Workshop has changed Warhammer 40k a lot over the years and while we can say over and over that it’s changes aren’t all bad we must admit that some of them are.

Which brings me to 6th edition 40k.  I started playing 40k back in 2nd edition and back then the land scape or “meta” if you want to believe in that, was a lot like it is now.  There were a lot of people spoiling to play cool new things that could be done with the game books.  But back then Games Workshop accomplished the same thing with a lot less money and a lot less man power.  People were inspired less by Games Workshop’s fluff background and more by their own imaginations.  And people took absurd ideas and ran with them for hours upon hours of conversion and gameplay fun.

Today with the freshness of 6th edition, the newly revised whitedwarf, and the quicker pace of releasing Games Workshop has captured that anything can happen vibe of Rogue Trader.  But in doing so what have they spent.  In terms of money? In terms of manpower? In terms of long term viability of the products they produce?  I’m not really qualified to speak on the time, effort, and money Games Workshop has spent to revitalize 40k.  What I can say is I’m not sure its sustainable.

Games Workshop has started trying new things and that’s good in the long run.  But they haven’t been terribly good at what they have tried.  6th edition 40k is still a terribly hard to explain game for very little reason.  Contrary the to popular belief the rules for playing toy soldiers are very easy to articulate.  Any 8 year old can explain them, I shoot you, you die.  We all love rolling dice, we all love watching enemy and even allied soldiers get removed as casualties.  Games Workshop keep’s making that complicated.  Arguably this is done to making teams balanced but everyone can attest that, while the most balanced it’s been in years, 40k is not balanced so all that extra writing and layers of rules technicalities is a waste.  Beyond that every rule in the big book pretty much has an exception in one or more army books anyway making it less a rules guide than a bunch of things you have to remember to ignore but only when X is on the field anyway.

I have a 7 year old nephew.  A 7 year old nephew that is part of my table top roleplaying group.  We play a lot of different games but his favorite is Star War D6.  A game played with fists full of D6s and lots of brash fun gunslingers shooting at each other.  I tried teaching him Warhammer 40k. a game that is arguably very similar to the WEG Star Wars experience.  He lost interest after 15 minutes.

Perhaps 7 years old is the wrong age to learn mass combat games.  Maybe I’m not a good gaming instructor.  Or maybe there are just too many rules and to many exceptions for a child to track. I don’t really know.  The trouble is that most of the gamers I know are table top gamers because they started young.  I started at around 7 or 8 myself with RPGs and moved to wargames at 10 or 11.  My Nephew actually totally grasps the concept of characters, line of sight, hit points, armor saves, and all of that.  He just doesn’t care about look out sirs, overwatch, snap fire, anything that is a USR, or why some models get feels no pain and others don’t.

At the end of the day Games Workshop’s new more engaging business model just doesn’t make for a healthy game.  As a current gamer it’s nice that things are more balanced. It’s great that we are getting new kits faster.  It’s nice that unasked questions are being faq’d sooner.  It’s even nice that I can spend my money on a poorly designed digital product instead of an over designed print product.  But when it comes down to it balance, speed of releases, faqs, and even digital or print products aren’t the barriers to entry on the game.

At a time when the entire world has seen economic distress the biggest issue is now and always will be price and service.  Games Workshop’s constantly up sloping prices coupled with relatively poor customer service and the constant feeling that whatever I buy will be devalued in the game by 6 to 10 weeks out make it hard for a current gamer to justify the price tag.  At the same time while other games have maintained a reasonably price tag for their core products and an extremely low price tag for their starter sets, Games Workshop continues the trend of uniform prices across the board. This means new gamers can’t buy into the game to get hooked without a friend that’s already in the hobby and spent the money.

As a gamer I’m an advocate for gaming. I love gaming and believe everyone who plays is in some way better for playing.  But I can buy a DnD starter set for 20 bucks, all the core books for 60, and a bunch of plastic DnD miniatures for a buck a piece. For Warhammer 40k I spend 65 bucks for the core book, another 60 for my army book and then 100 plus for a bare bones starter army that isn’t even always complete to play and is rarely what you actually want.  I’m not sure I can advocate that as easily as I can other aspects of the hobby.

Maybe that’s the point though, Games Workshop is trying to change the dynamic of the hobby.  It seems clear they don’t want it accessible to just anyone.  Constant price rises, pushes to remove services from 3rd party retailers, and even the semi-mainstream effort put into forge world are attempts at elitism within the hobby.  Games Workshop’s goal is to push people towards their in house distribution.  As an example, they just contractually killed bits service through 3rd party retailers which means they will likely start unveiling a bunch of shitty fine cast bit kits that are direct order only.  Every kit will be priced at 19.99 or similar and have just enough kinda useful and kinda useless bits on the kit to make you feel like it might be a good price but the quality and service will still be lacking and spending 20 bucks for the one power fist will still leave someone feeling a bit let down.

See Games Workshop is ok with someone leaving the hobby so long as you aren’t ordering from them directly.  Their greatest profit margin is in house where their supply chain takes care of everything rather than paying an outsider.  Their highest degree of control is in house where they do all the training and control all the advertising. No risk of their employees telling you about a competing product or their magazine advertising WarmaHordes.  In the end their goal is pretty transparent.  If they can’t get you into one of their stores and keep you, they don’t want you as a customer.

If you want to understand their elitism look no farther than their “digital products”.  Their “digital products” are nothing more than the iBooks News Stand products.  I get game informer the exact same way, only for 14 bucks a year. Same basic content. Useful index, searchable functionality, fancy revolving 3d images (game characters are cool that way), occasional videos, forced landscape viewing (even though portrait is traditional print lay out and easier to bloody read), and of course outrageously large 300mb downloads.  Only difference is that Games Workshop feels their product is worth more because they made it.  Same goes with their print game books.  We can talk about all the fancy color print pages and stuff we want but I have personally felt for years that the army book prices are trending towards the point they aren’t in my price range. I can pick up a hard cover 200 page DnD supplement for 39.95 but I have to pay 60 for a warhammer one? And then by the models? And the core book? Oh and you’ve made stupid objective markers and psychic power cards too, great. 

I’ve come to realize that I’m not Games Workshop’s market for 40k anymore.  Neither is my Nephew.  It’s not about age.  I don’t feel entitled to anything because I’ve played for so long.  No its more about the very real truth that they don’t care if I patronize them or not.  They aren’t worried about losing me as a customer because they haven’t had me invested in their business model for a couple of years now.

Why is this all important? Well I’ve just realized something very clearly. For a long time side companies like Chapterhouse have been combating Games Workshop’s elitist mentality by keeping bits and specialized models cheap.  But they don’t have to. Games Workshop isn’t killing itself by getting rid of bits or raising prices or driving off customers. It’s giving life to its competition.  I’m not going to start a kickstarter.  But I will predict that someone soon will. Within a few months of Chapterhouse and Games Workshop settling Chapterhouse will start its own game.  Mantic has already started its Warpath game and will kickstart that.  Beyond the Gates of Antares was pulled from kickstarter and arguably was going to be a shitty game, but it will be back.  Within a year Anvil industries will at least talk about making a game as will Wargames Factory within 18 months.  The point is, I can’t look at Games Workshop’s business tactics as “bad for the hobby” anymore. They are good for it, just not good for Games Workshop’s place in it.

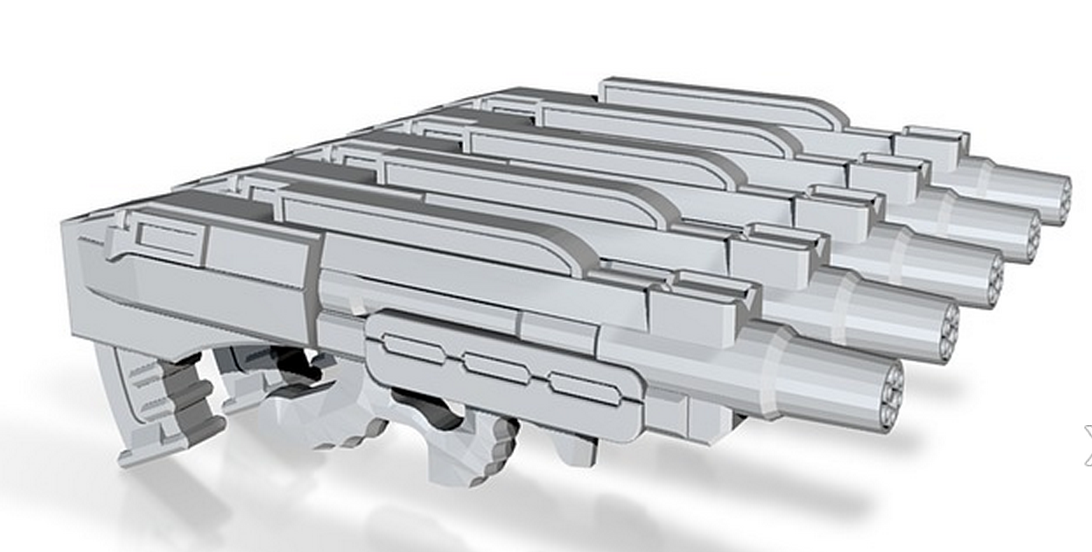
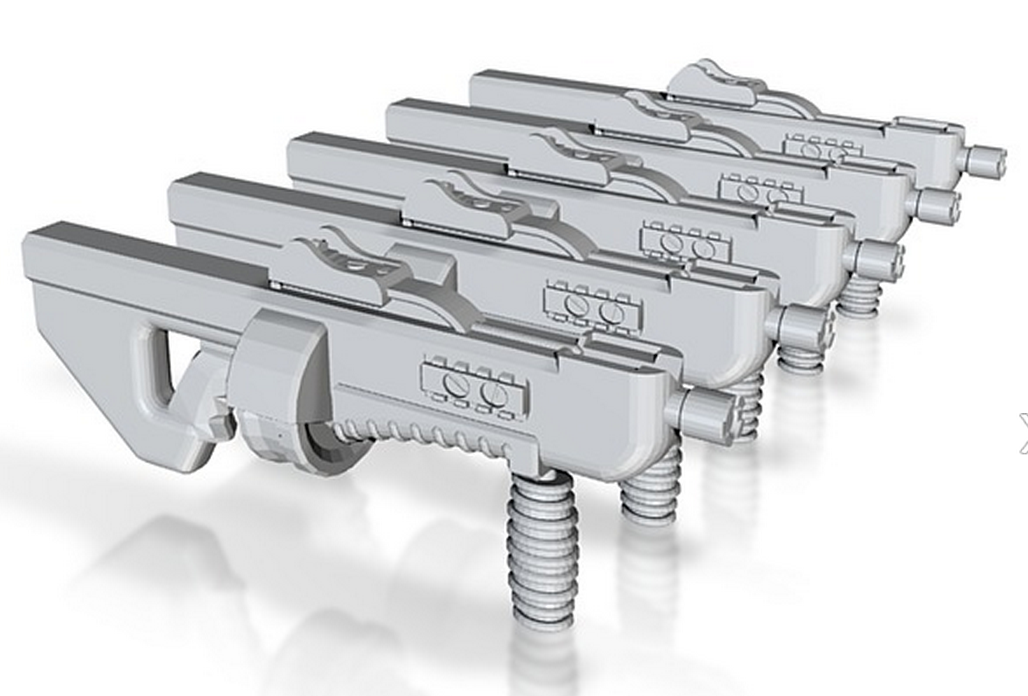
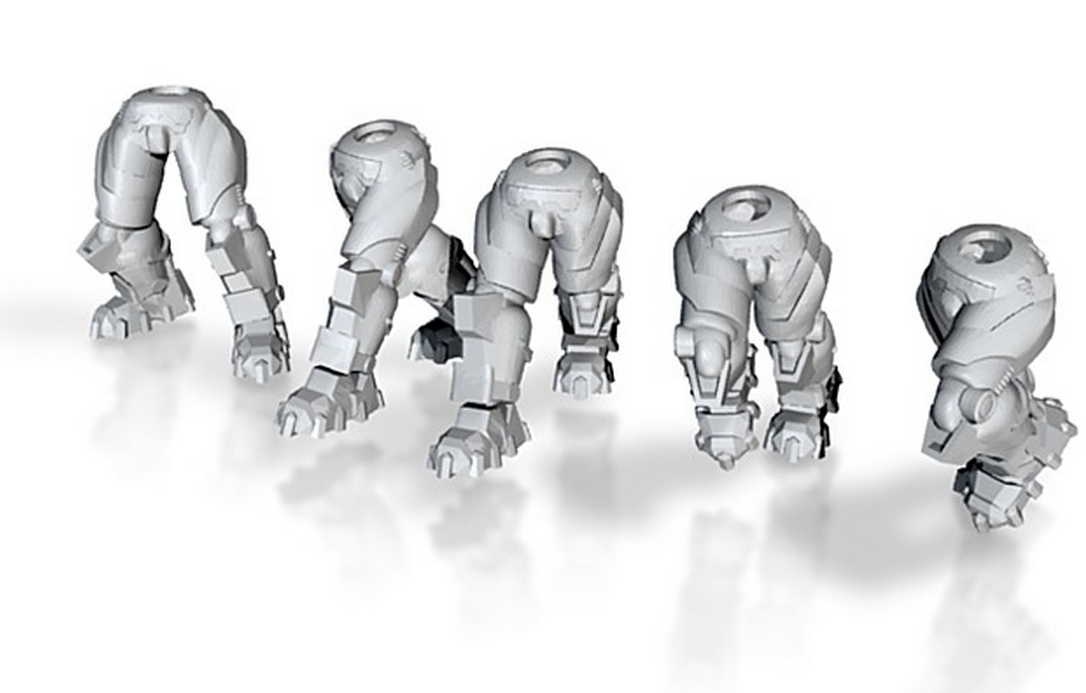
That's my deep thought for the day.  Later this week i'll be talking about Star Marines and what that means for my future projects, and hopefully a little about the design of my Heavy Armor troopers.

Sunday, March 3, 2013

Update, 3/3/13

Wow its been a while since I've updated my blog.

I've been focusing almost entirely on a series of commissions I've received which will be cast in resin for production.  I'm rather close to finishing those commissions so I've started dusting off some of my work to get back on the bike to ride as it were.  So I thought i'd jump on and say hello to everyone again.  I truely am sorry I haven't had anything fun to show off but hey, I gotta do what I gotta do.

If readers have checked my shapeways store they may have noticed that I've still been adding a few items now and then.  For those who haven't I thought you might like to see some of the stuff I've put up.


Months back I started revealing my "Advanced" weapon line which focuses on a sci-fi weapons for 28mm scale.  Those of you who have seen my increasingly expansive line of weapon designs might be intrigued to know the weapon base I use wasn't my first design for the base.   My early designs were a bit more out there with some inspiration taken from various sources.


My earliest design was inspired by weapons from several scifi properties.  Specifically Mass Effect and Star Trek.  the weapons in those properties always have a bit more technical look to them. Like they are made with more attention to detail.  Its a bullpup design with an under-barrel stabilizer.  This design featured a strange, flash suppressor which I was never particularly happy with. Even this earliest design featured the over barrel expansion port structure I would use in later projects.

At some point I fell in love with the idea of a micro gatling gun.  A multibarreled rotary weapon that  would fire micro missiles.  The main inspiration for this design came from playing a very old shooter, command and conquer renegade.  It also has design motifs from the FN-P90 and the Thompson Sub-machine gun. 

This design started as inspired by the FN-F2000 and the FAMAS F1.  Both cutting edge weapon designs for modern militaries.  The design shifted from there.  Its become a far more elaborate weapon.  It's appearance is nice and light with a technical design.  My main reason for not using it as my base design is it was simply to difficult to modify the design into multiple weapon types.


I have a love hate relationship with shotguns.  The short range, the heavy recoil, the small magazine, the inaccuracy.  When I do the math personally I always come up with a bad equation.  But I won't deny in other hands they can be fantastic.  Especially modern shotguns like the Pancor Automatic shotgun.  brutally effective at shredding cover and enemy flesh the pancor inspired me to make this design.  Unlike a lot of the other designs it doesn't have the underbarrel attachment mount. Instead it has traditional side rails for accessories.  The design is heavily rounded and smoothed like the entire weapon was made out of a single piece of carbon fibor.  In a scifi setting I picture shotguns as being the quickest, cheapest, and easiest weapons to make, even automatic ones.


When I started this project I had a good idea that I'd be making conventional weapons and energy weapons.  I first sought to make a separate energy weapon base for my weapons  I later decided to go a different route with the project.  This early design of a purely energy weapon design bares little resemblance to the mass production base I now use.  I picture it as a laser of some kind.  Chunky and durable its structure is more reminiscent of a prototype than a final field weapon.  But still it would look nice in the hands of soldier.

One of the early hallmarks of 40k and other hard science fiction settings has been the use of chemical and acids as weapons, a tactic our modern military hasn't adopted.  Of course the main reason for that is probably an effective delivery system.  This is my first take on a chemical weapon.  A two part compound sprayer that shoots narrow concentrations of chemicals at the enemy.  I'd imagine it as some form of magnetic acceleration unit that fires chemically infused needles.  Its a fun, 80's sort of scifi weapon.


Of course I can't neglect my newer designs.  One of the major holes in the line has been a rocket launcher. sure I could design a traditional tube style weapon but where's the fun in that.  No I opted for using the gyrojet base I designed for the Battle Cannon.  The barrel is inspired by the rocket launcher from Quake 3, one of my favorite shooters.  It uses a clip of oversize gyrojet rounds rather than a muzzle or breach load design like modern missile launchers. In field this would translate to a more stable, faster firing anti-tank weapon.  And of course it comes with shield and without as well as in a man portable version.

The other new design for the "Advanced" line is a lightning weapon.  here we see the lightning cannon design.  It has a central static transformer and 4 charge emitters around the outside.  Here is the heavy weapon version where we can see its intimidating blade like design.  Though short range and relatively inaccurate it can be devastating to electronic systems.  

The rifle variant of the lightning gun is more sleek with well defined blade like charge emitters  It forms a ball of electrons at its leading edge, building in charge until the transformer cycles.  The result is a devastating  if slow shock blast.

A group of 10 lightning pistols ready for deployment.  I imagine my lightning gun as a short range weapon so pistols makes perfect sense for the design.


Last post I previewed my new Starship Trooper style star marine design.  What I didn't preview were these. These torsos, inspired by Egyptian clothing and the powered armor design of my Star Marines, are intended as the basis for a lighter power armor design. Here we have the female design.  Its slimmer and slightly shorter than the male variant.  Yes it has breasts.  I've never quite understood the hate on female fantasy armor having breasts. Yeah I totally understand they are ridiculously impractical. And yes when treated poorly they are pretty much sexist short hand for "I like gurlz, yuck yuck".  But then I've never had a woman get upset because they have breasts.  Acknowledging sexuality isn't bad and hopefully I've done it without being offensive.

The male variant of the armor is virtually identical to the female.  Its got a clearly male shape.  It's a bit taller than the female variant but not by much.  This design's Egyptian motif is mostly in the mantle that graces its shoulders.  A mantle less design is in the works.  Its a bit more body armor like.

The shoulder pads for my new star marine designs.  Their leading edges are flat making them distinct from other shoulder designs.


The body of the new star marine armor is based off the smaller armor torso's I made above.  The Star Marine torso is completely enclosed. Normally the body would close entirely, here I've made 2 variants of the torso, one closed and the other, shown here, open.  The total figure is designed as an analogue for heavy armored space marine design.  Closed torso figures will stand approximately 44mm tall.  The gap in the open torso should fit any 28mm head once you cut off the neck.

The legs to the most doing to make.  Sure I had the leg design finished when I flashed it last post.  But, the legs proved the most troublesome to upload.  Perhaps it was because of their intricate design, or maybe it was my own incompetence  but either way it took 6 or 7 tries to get them to upload.  Here we have advancing legs.

Well that's all for now, I'll try not to let the next update be a month away. :P Till then, enjoy.

Tuesday, December 18, 2012

3d Modeling and Printing Icons for 28mm Games

I had been writing this post for here but Bell of Lost Souls has a hobby article shopping spree contest going on so I'm posting it both places. If you want to support my plastic crack addition please vote over on the Bell of Lost Souls lounge for this hobby thread.  It will be broken into a couple seperate posts there with all the same images (linked from here) and dialog.

Well I was going to do this for my personal blog but figured I might as well do this on Bell of Lost Souls as well if there is a chance to win some free miniatures.  Ah the power of free.
I’m a big believer in free, or at the very least cheap, so I’m going to show you guys a pretty easy and relatively cost effective way to make some miniatures icons for your armies.

We are going to be using a single piece of software for this, Sketchup.  Sketchup has a free and a paid version, anything the paid version can do can also be done with the free version and a community created plugin. This makes sketchup very versatile even with out paying the 500 bucks for the “professional verson”.   In the past I’ve covered plugins on my blog to help people track down what they need to maximize their efficiency in sketchup.  You can find the blog post here, http://dynath.blogspot.com/2012/03/building-miniatures-in-sketchup.html.

We will also be using an 3d printing service called shapeways found here, http://www.shapeways.com. Shapeways is a community and sales site centered around customer created 3d printable objects. The price of shapeways products is set by the person that makes the object but ordering your own products for yourself will only cost you the actual production costs. While 3d printing can become quite expensive for large objects, small items like miniature bits are easy to make and cheap to order.

In this I’m going to show you how to make the master model for an icon plate.  This works very well for space marine armies but could also be used for any force icon.

First of course download and install Sketchup. I’ve also installed all of the plugins found in the blog post I’ve linked above.

Step 1: the background
Icons are easiest to mount if you put them on a background.  In this case I’m going to build a basic base that I can reuse.  I start by making a square.  Using the rectangle tool I drag out a square, when dragging the dashed line across the center tells you when you are making a square or a golden section. 


If you look at the bottom right corner in the info box you’ll see the size of the item I’m working with.  The square I started with is about 1000 millimeters.  This is too small.  Sketchup is designed to work with architecture so it can have some trouble when you make really small items.  So we need to work at a larger scale and then shrink the model down before we export it.  I like to work at 1000 times the final size. It’s is large enough I rarely have problems with geometry and the math for scaling is easy to figure out.


Here I’ve put some measuring lines on the square so we can see the size.  Then, with the square selected, I’ve selected the “Scale Tool”.  This puts little green handles around the sides of the object.  Then by dragging I can resize the square.  In this case I wanted to make a square that when output will be 15mm on each side.  So I drug the scale handle until the square has a size of about 15,000mm on each side.  Precision is not totally necessary but it helps. 


Well we have a nice two dimensional square but we need to have some depth to make a 3d model.  So we are going to choose yet another tool, the “Push/Pull tool”.   If we choose that tool, and then left click on a flat surface it can push or pull the surface out giving it thickness.  Watch the bottom left corner of the screen to determine how far you are pulling it.  I want the plate to be about 1mm thick so I’m making the larger model 1000mm tall approximately. 


Now we have a nice square background for our model.  We can select it and make it a group so it doen’t get lost.  Of course GW put some of their icons (on the drop pod sprues) on squares and circles and they are pretty boring so let’s fancy this up a bit.  Double click on our group to open it up.  Then select the “offset tool” this lets us click on a surface to offset a line inside that surface.  In this case I want to drop a line about 1000mm from the outside edge of our square. 


Now I’m going to use the “Push/pull tool” to push the surface in about 200mm.  this will make the total thickness in the middle of the plate about 0.8mm when done.  Shapeway has different materials with different minimum thicknesses so be aware of what your limits are for the material you want to print in.  I usually use Frosted Detail. It has lots of detail for miniatures and a 0.5mm minimum thickness so the thickness I just set it at is about perfect for a sturdy plastic plate.  Now lets add some rivits along the outside edge.  If you hover over the center of a line or shape a white dot will appear marking the center.  You can click on it with a tool to use it as an anchor.  You can do the same for existing points where a green dot will appear.  So using the “Line tool” find the center and corners of the outside edge and drag lines in so you have reference points.  Then switch to the “Circle tool”  find the center point of your lines and you can use it as the center of a circle.  Then using the “Eraser tool” you can remove the reference line.  Lastly go back to your “Push/Pull tool” to pull the circles out making 200mm tall rivets around the rim of your plate.


Step 2: The icon
So now we have our base plate, it’s scaled correctly, and it looks fancy.  So now we need an icon to put on the plate.  Sketchup has a bunch of basic drawing tools you can use to draw shapes.  Here I’ve drawn a new square and I’ve pulled out the drawing tools so you can see the pallet. 


Aside:  I will warn sketchup’s drawing tools are very limited so you might be inclined to use a separate program to design your icon.  Your best option for making geometry from an external file is to use a vector art software that can export DXF or DWF files. These are specific 2d vector formats Sketchup can process.  Doing an image in MS paint won’t be any help.  I own Adobe Illustrator which works for this but is very pricy. There are a number of free alternatives out there, check out Wikipedia or ask for recommendations from graphic artists if you can. An added advantage of separate programs like Illustrator is that they can often convert a raster image to a vector allowing you to use your own sketches or found images as the basis for your icon. 


We now need to make our icon. I’m a huge fan of the custom space marine chapter “the angry marines” so let’s make an angry marine icon.  Angry faces aren’t hard to make, they start with a circle.  So find the center of your square by drawing an X from corner to corner then draw out a large circle.  Using the X as a reference point draw in eyes. Then add horizontal reference bars to draw out a wide V on the forehead as a brow, and then a wide curve on the lower half as a frown.  I’ve added teeth hanging down below the frown to make it look meaner.  Below you’ll find images with my reference lines and after I’ve removed them. 


The angry marines icon isn’t really clever or detailed just a very angry, sort of goofy looking face.  Making your own custom icon might require a lot more detail.  When working on an icon remember to think in 3 dimensions.  All your lines have to have thickness and form a picture that can be made in relief.  So if you look at, say the lines separating the teeth I drew, you will notice they won’t come out in 3d.  You might have to work on that a bit to get things to come out how you want.  In this case I’ll go to the offset tool and shrink the teeth a bit to make them work as intended.
Now we can use the “Push/Pull tool” to give the icon depth.  I work from the deepest part down so I’ll pull the brow and frown out first. Then the eyes and teeth. And lastly the face itself.  The 3d model is now a relief all that’s left is to cap the bottom of the relief which is currently open and then remove any excess geometry.  Adding a line at the bottom of the relief will seal the model and you can erase excess lines around the outside of the model.

On a more complex icon you might want to make each of these parts a separate piece so you can move them around and scale them separately.  This can be necessary when working in specific circumstances such as when making icons on rounded surfaces.  In those instances you’d draw each level of the relief separately. Like show below, then pull each one out to give them depth.  Once layered on top of each other it’s no different than building them as one piece.


Step 3: put it all together
To complete our icon plate just put our relief icon on top of our base plate.  This gives us the 3d model we want of an icon plate suitable for slapping on a vehicle or building.


At this point we have a fantastic relief of the icon on a base plate but it’s 1000 times the size we need it at.  So again we use the “scale tool” this time selecting the entire completed icon and then the “scale tool”


Now we need to export it. Most 3d printing sites need a specific format of output file, usually Stereolithography files or STLs.  Shapeways is no exception.  For that we need to use an STL export plugin provided by the Sketchup community. You can find it linked from my earlier blog post.  Select your completed model and go to “Plugins”.  Now choose “Export STL file”. It will launch a dialog box to choose the size of your stl, select “millimeters” and it will then ask you where to save the file.


Step 4: Shapeways order
If you’ve done everything the file you exported will be print ready. You can start a shapeways account and upload the file there to order for yourself.   If you get an error when you try to purchase shapeways will give you feedback on what to fix. I’ve done some advise articles on this process on my blog and the shapeways community is fantastic for helping people sort out issues.
If you are interested later this week on my blog “dynath.blogspot.com” I will be demonstrating how this same process can be used to make other items such as shoulder pads.
Thank you and I shamelessly say “Vote for me”

Disclaimer: Warning reproduction of copyrighted designs constitutes intellectual property rights infringement. I neither condone nor suggest that you use these methods for such purposes.  I am not a representative of Trimble Inc. owners of Sketchup and all associated marks nor a representative of Shapeways.com owner of their associated marks.  Nor, and I can’t stress this enough, am I a representative of Games Workshop or representing their interests. 

Friday, October 5, 2012

Shoulder Pads Update 10-5-2012

So it's been a while since I gave an update on shoulder pads.  As you may know Games Workshop has given me an infringement notice regarding my shoulder pad designs. As a result these and my past shoulder pad designs will not be included in my public gallery on shapeways. Though I have no evidence that I am actually inviolation of any intellectual property owned by Games Workshop I am complying with their demands.

Then why am I doing them? well mostly because I firmly believe they need to be done.  No one has done them so I want to do them.  Further, if you've been following the GW vs Chapterhousestudios lawsuit you may also be aware that CHS has argued that the design of the shoulder pads and most if not all the icons involved are not protected under copyright or trademark law.  If true one day I might be able to share these designs publicly again.  More over, it's also a challenge I set for myself, and though I can't list them in my public gallery I can still test my skills by meeting this challenge head on.

Its also been called to my attention that most of the shoulder pads I've done are "left hand" shoulder pads.  I really hadn't noticed this, if an icon on the shoulder pads is reversed let me know and I'll try and correct it when I get a chance. I believe most of the issue arises from the fact that its hard to determine right or left in a 3d software.

Please send Inquires about my projects, requests for commissions, and questions or comments to me on shapeways.com/shops/dynath or as comments on my blog or to my email dynath@gmail.com.  I may not respond immediately but I do my best to get a hold of people.

B

Black Legion


C

Celebrants
Celestial Lions


Chaos 1 - Aztec pattern (custom icon)


Chaos 2 - Wheel of chaos


Chaos 3 - star of chaos


Chaos 4 - cross of chaos


Chaos 5 - vortex of choas (custom icon)


Chaos 6- Hindi pattern (custom icon)


Charnel Guard - no icon

Children of Purgatos - no icon

Circles (custom icon)

Claws of Lorek - no icon


Cleaved, The - no icon

Clouds 1 (custom icon)


Clouds 2 (custom icon)


Comet 1  (custom icon)


Company of Misery


Company of the Shadow - no icon

Consecrators


Contenders - no icon

Crimson Fists


Crimson Guard


Crimson Paladins - no icon

Crusaders - no icon

Cybran - from video game (I forget which one)


D

The Damned Company of Lord Caustos - no icon

Dark Angels


Dark Crusaders - no icon

Dark Eagles


Dark Hands


Dark Hunters


Dark Sons


Dark Tusks - no icon (would look awesome with 

Dark Watchers (custom icon) the evil eye


Death Eagles


Death Falcons - no icon

Death Guard 1


Death Guard 2


Death Knights


Death Shadows - no icon

Death Spectres


Death Strike


Deathmongers - no icon

Deathwatch - notice the 3 bars... I am so fucking tired of all inquisitorial pads having 3 bars, only deathwatch should have 3 bars, ordo xenos only, demon hunters are 2, witch hunters are 1 all other orders used the I with a different symbol if they used it at all, I wish they'd kept the old fluff regarding the inquisition it made sense and was entertaining.


Desert Lions  -  (custom icon)


Destroyers - no icon

Dictators - no icon

Disciples of Caliban


Disciples of Destruction - no icon

Diving Eagles -  (custom icon)


Doom Eagles


Doom Legion


Doom Warriors


Doves - (custom icon) this seemed cooler before I actually did it...


Dragon Lords - no icon - I had an idea for this using the mortal kombat icon

Dragon Warriors - no icon

Dusk Riders


E

Eagle Warriors (as dark eagles)- just a stupid wing, same as the wings on the blood angels icons.

Emperor's Children


Emperor's Children (evil) - its got the slaanesh icon behind it but you can barely make it out, might redo this on eventually.


Emperor's Hands (as dark hands) - a spiked gauntlet, this one is on several chapter badges sadly.

Emperor's Hawks - also used as part of a dark angels successor badge.


Emperor's Shadows - no icon - cool name...

Emperor's Spears - a trident is not a spear...


Emperor's Storm - no icon - tried to make a cloud raining spears of lightning but it looked too chaosy so i dropped it, might do a custom icon later.

Emperor's Swords - no icon - i'm amazed the generic sword icon hasn't just shown up a thousand times here.

Emperor's Warbringers - I believe this is the same as the sable swords and the white swords chapters


Emperor's Wolves - no icon - we really need another loyalist wolf chapter that badly?

Empire of Decay (custom icon/chapter) the icon is an altered version of the "raptors" sports team icon.


Espandors - no icon

Excoriators - no icon

Excubants - no icon

Execrators - no icon

Executioners 


Exemplars - no icon

Exorcists - for some reason i'd prefer this as an actual relief than as this flat die-cut design.


Extinction Angels (custom icon)


F

Fallen Angels 1 (evil dark angels)


Fallen Angels 2 (evil dark angels)


Fallen Angels 3 (evil dark angels)


Fire Angels (as avenging sons) did this one a long while ago, i'll add images when I get a chance

Fire Birds (custom icon) fire bird car logo


Fire Claws (Relictors) - no icon though relictors have an icon

Fire Hawks (Legion of the Damned) - I did this icon but can't find it in my master because I think i miss named it... I'll redo it later...

Fire Lords


Fire Reavers - no icon

Flag Bearers (custom icon) CTF inspired icon


Flame Eagles


Flame Falcons - no icon

Flawless Host, The


Flesh Eaters


Flesh Tearers (i'm missing this icon, i know I had made it but I can't find it so I'll start here with my next set).


Random

Marines Errant


Nurgle - evil death guard


Red Lions (custom icon) red lion hotel icon


Slaanesh


3rd Legion